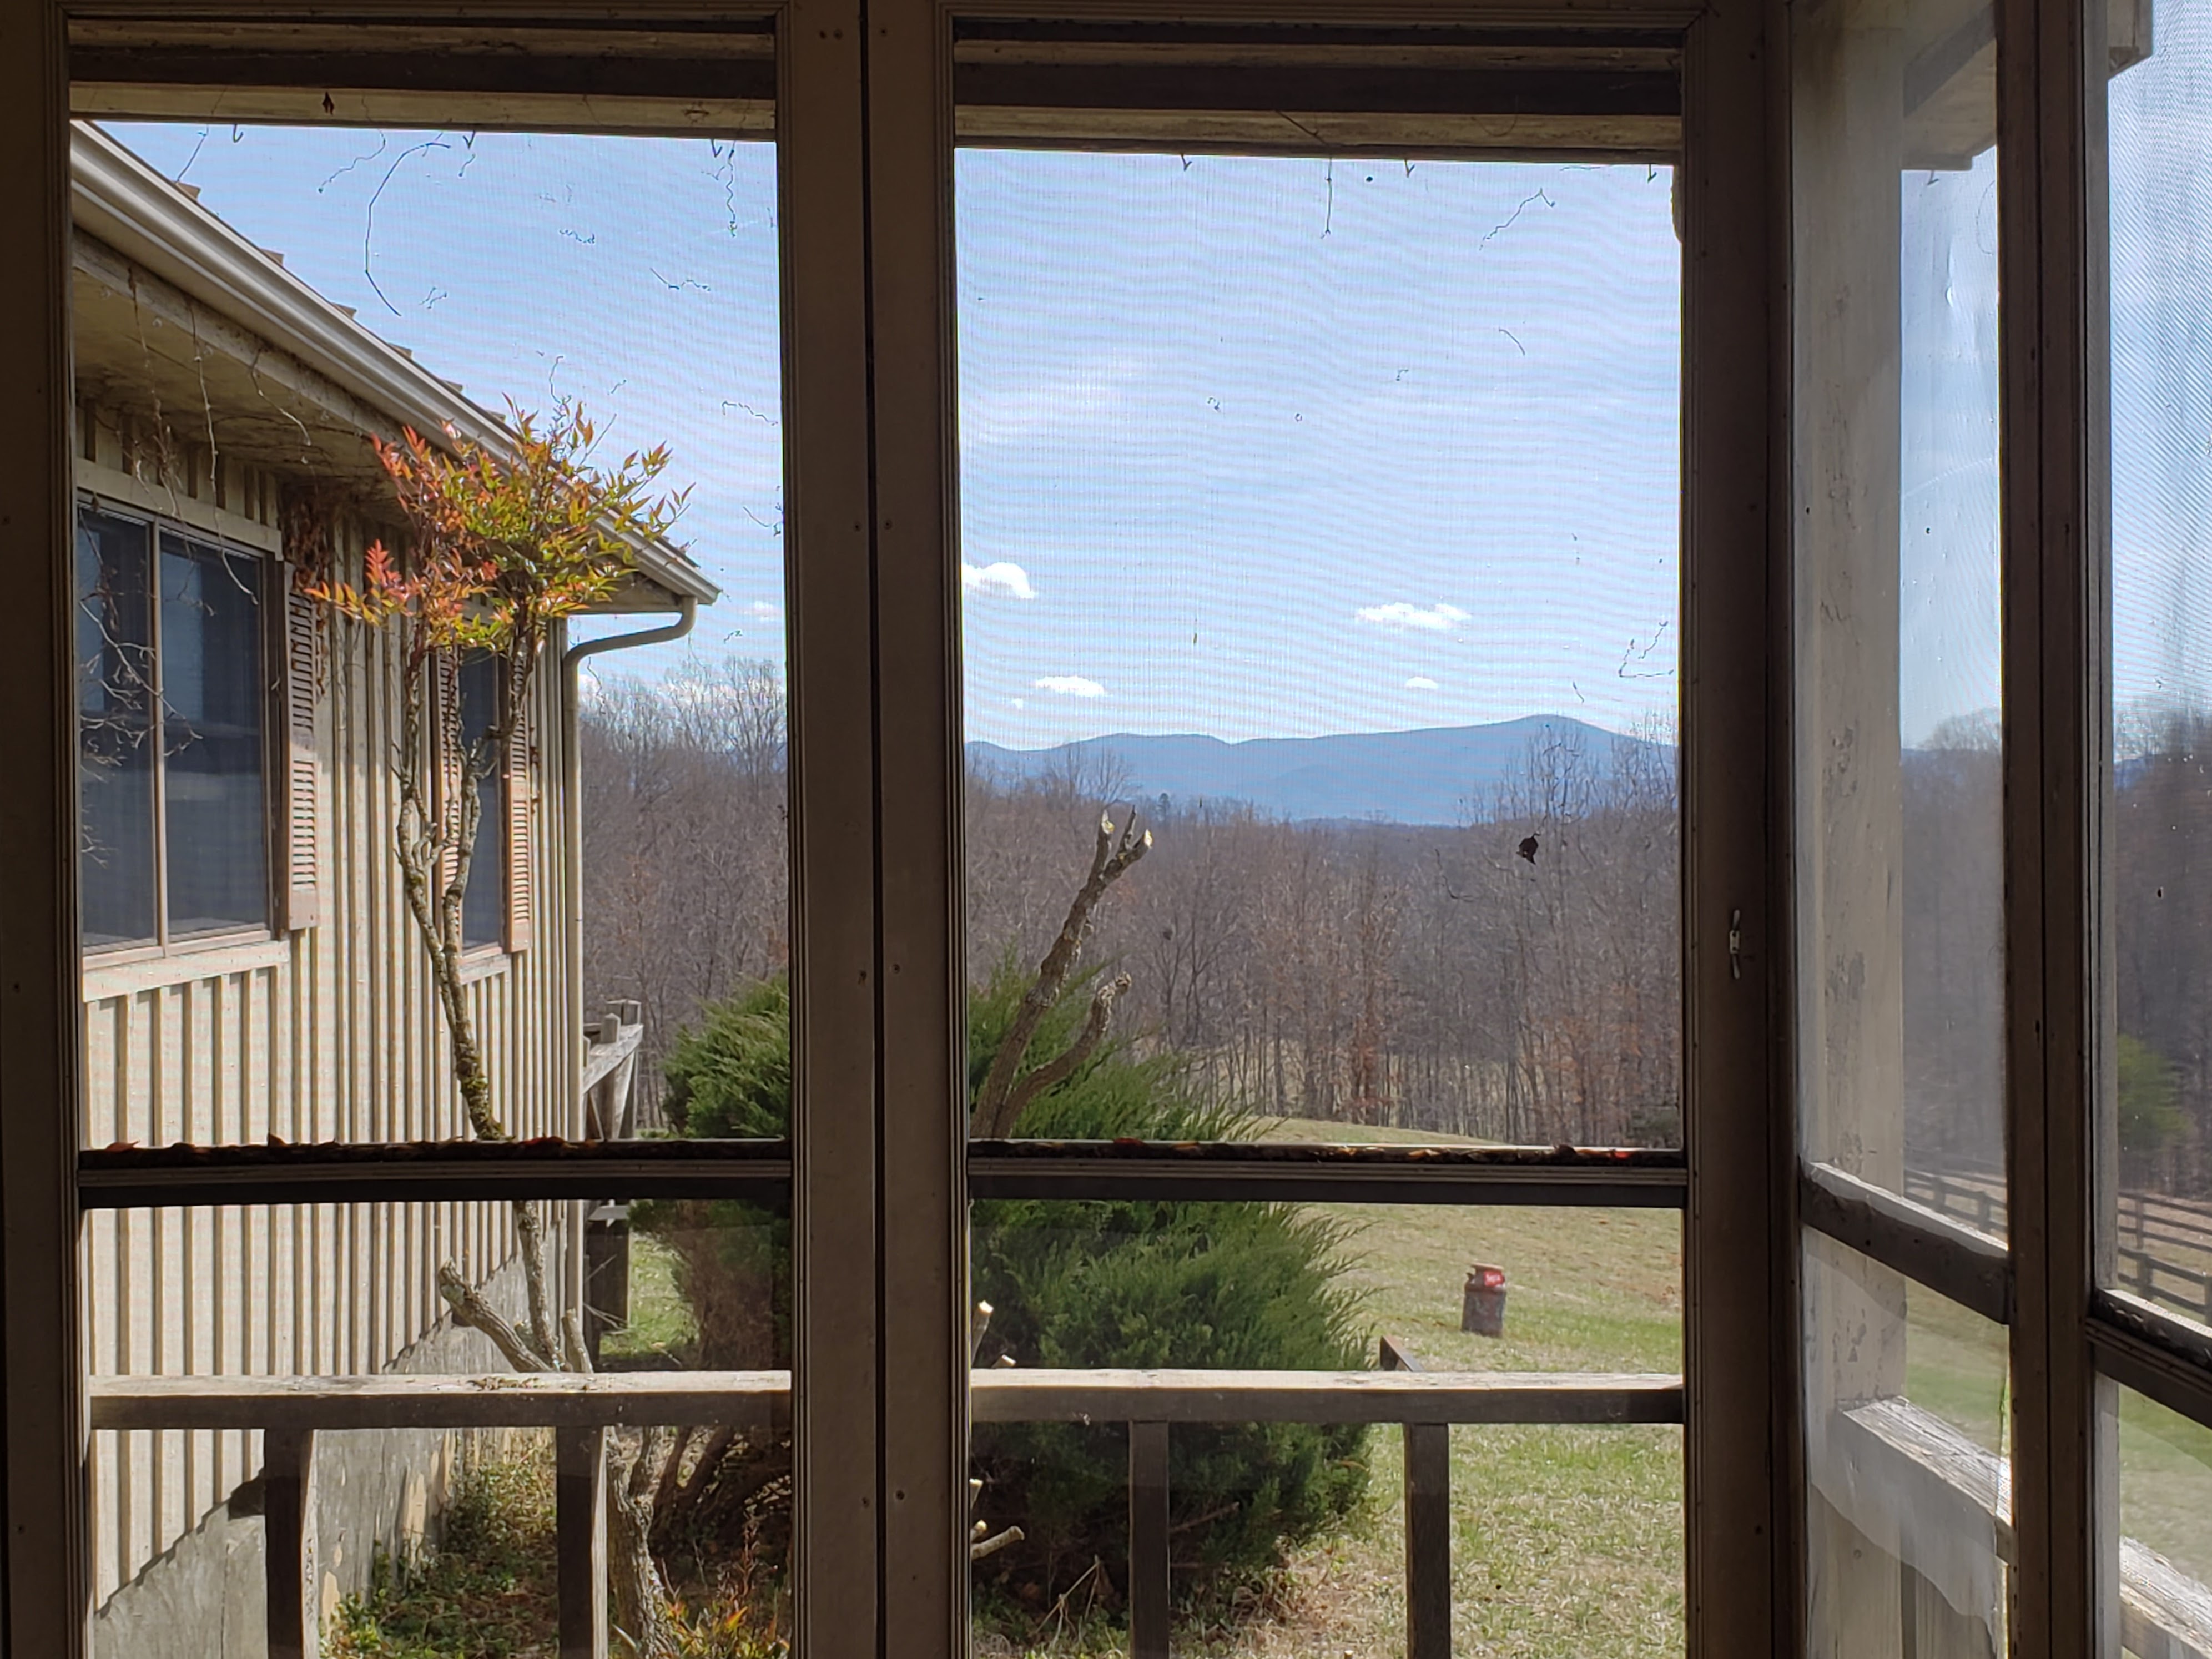
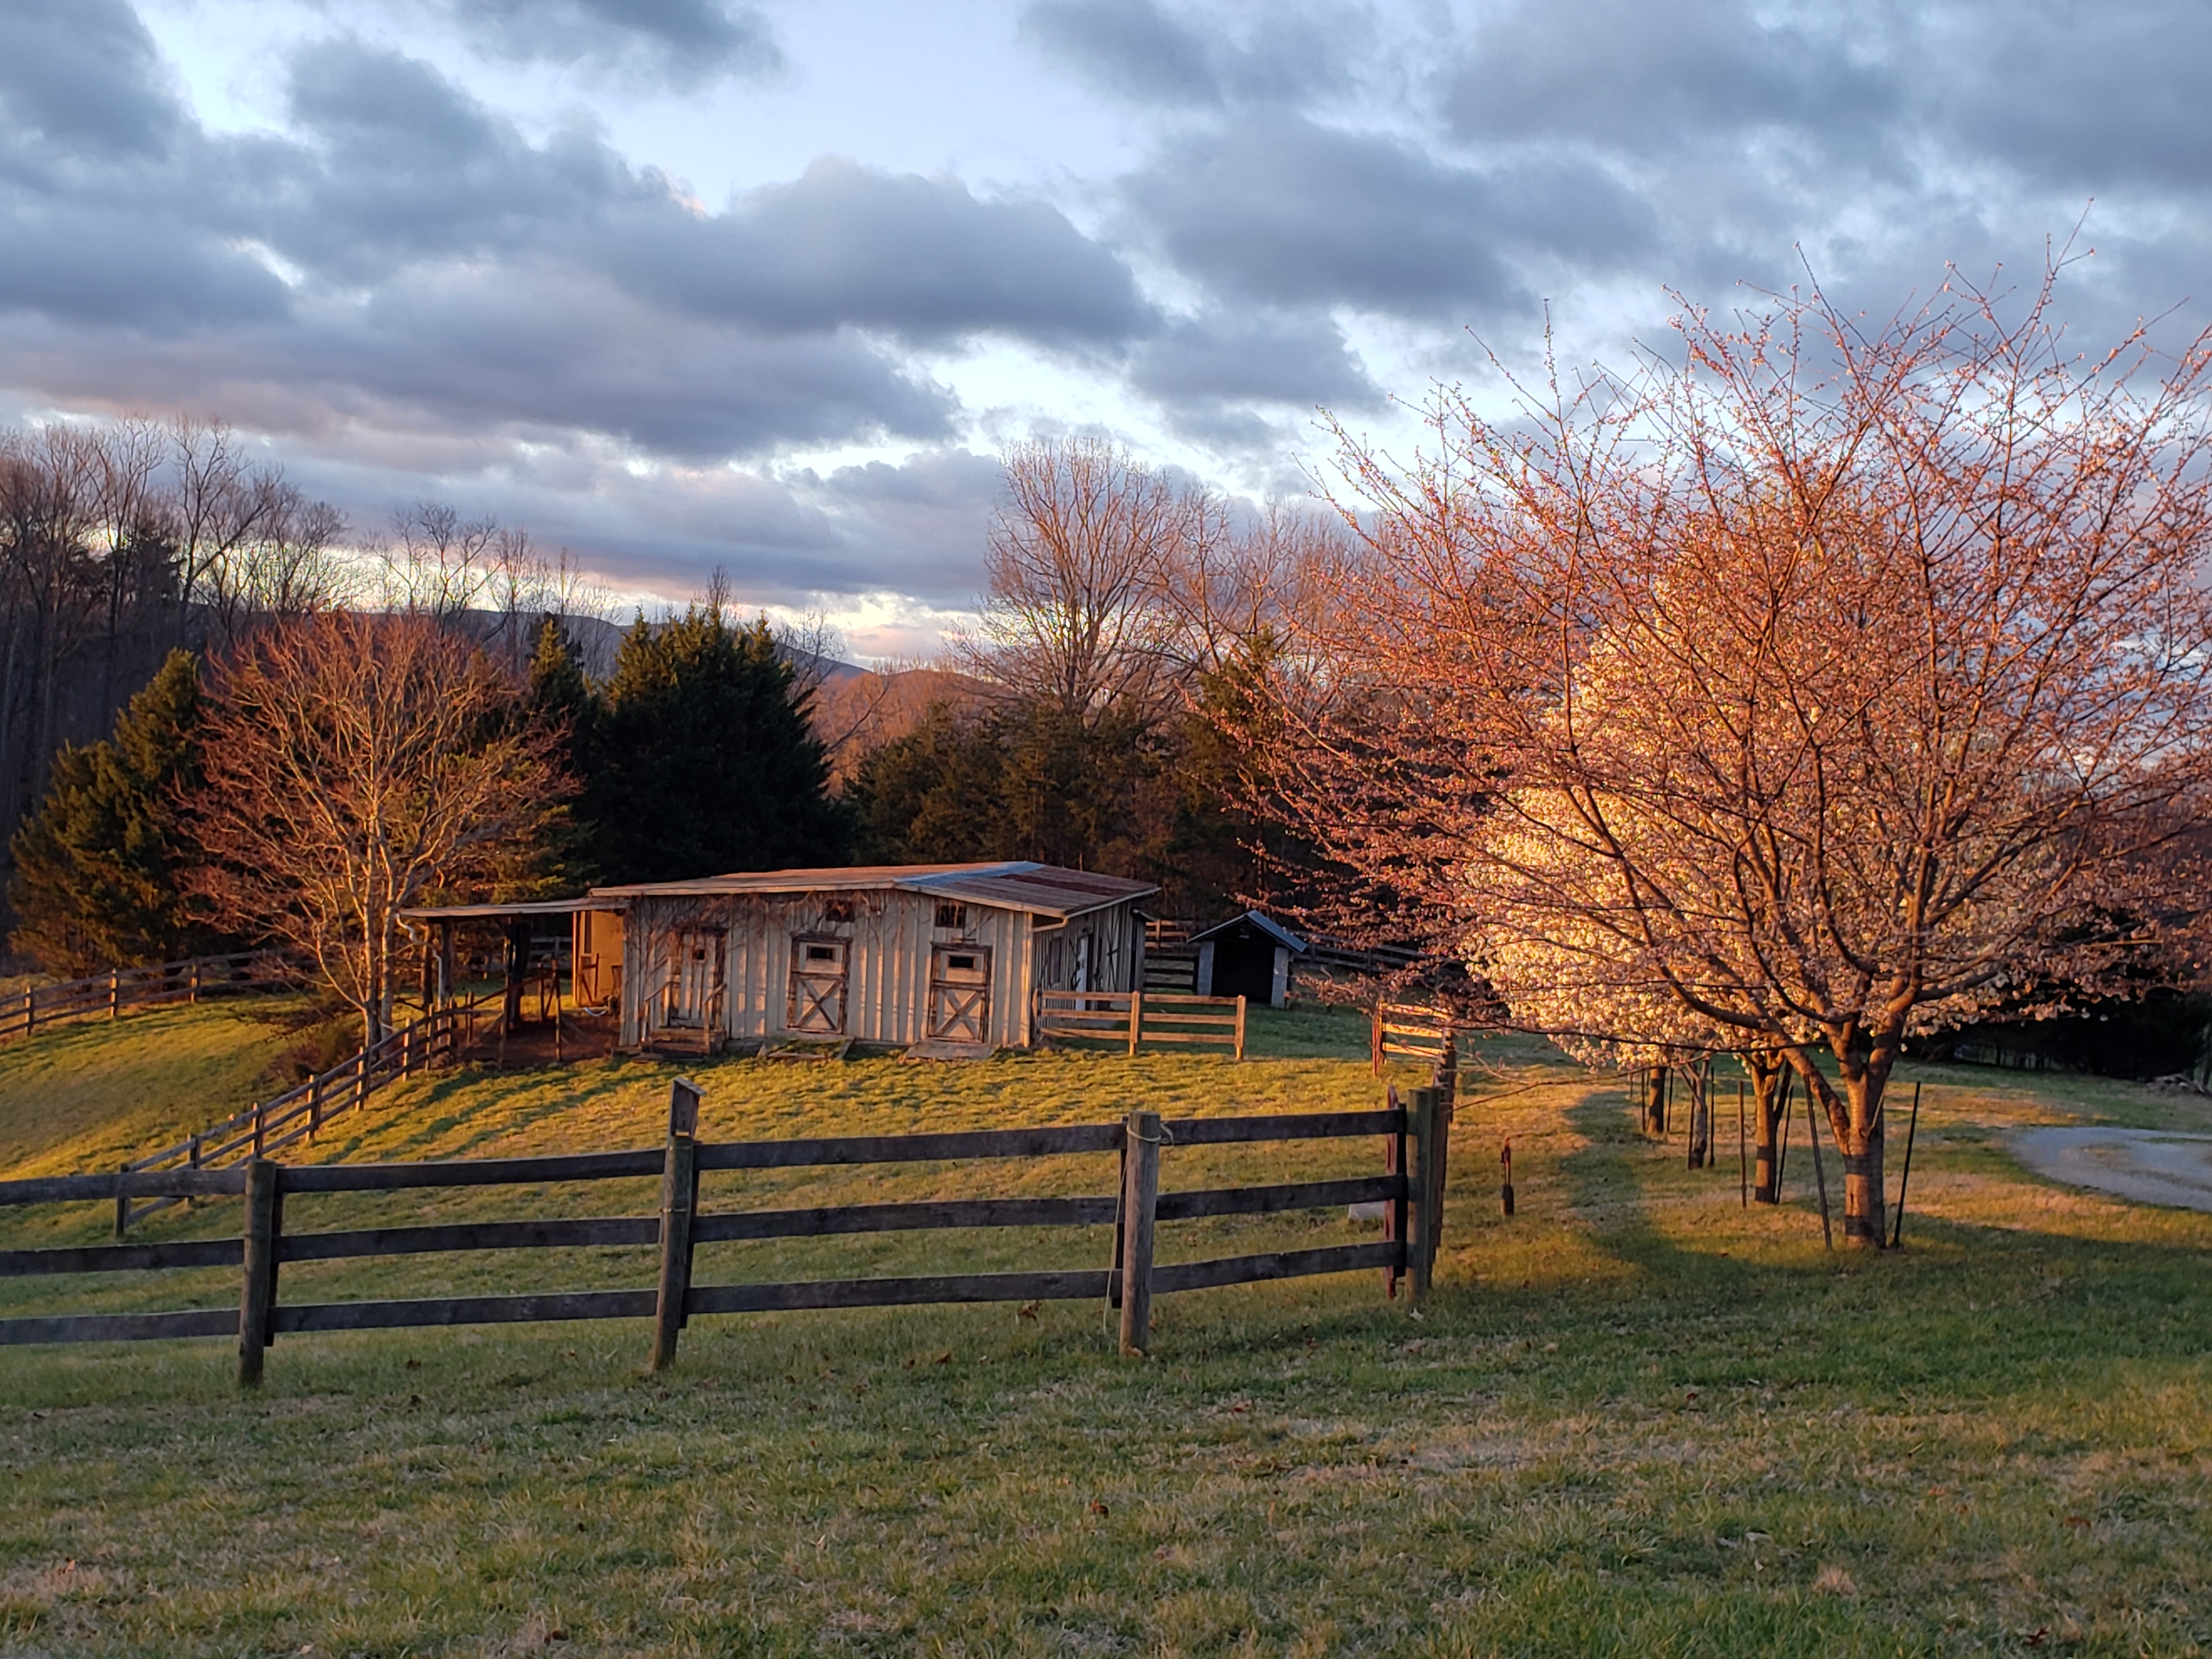
We chose our house for many reasons. The interior was not one of those reasons. Unfortunately, the previous owner was unable to care for the house and had neglected much of the cleaning and maintenance. Between the wood stove and what must have been a pretty steady stream of cigarette smoke, the house needed more than a simple airing out. The first thing we needed to do was to get rid of the carpets.

I lied, the first thing I did was cut this bush down!

I had to stop myself from doing this until after the closing, it was very difficult for me.

Tips for pulling up old carpets

  • Hire someone else to do it. Ha, ha, Goonies always say DIY!
  • Wear a respirator or an N95 mask. In our case there was so much dust and dirt and I know the smoke smell would have been overpowering without one. Lung damage is cumulative, please protect your future health.
  • Along this line of thinking, protective eye wear, a simple thing can make a big difference
  • Work gloves, heavy duty. There are staples and sharp edges.
  • Cut the carpet into a size that will be easy to move and to dispose of. At first, we were a tad too ambitious. Carpet, particularly soiled carpet is heavy. We hauled it straight out to the woodshed but would have put it into a trailer or truck if that had been an option.
  • Keep the underlayment rolled as much as possible to catch more dirt. It likes to tear but if you cut all the way through you should be able to roll that up as well.

Once we pulled out the carpet, the smell was actually worse. My guess is that the smoke had settled to the sub floor. We made sure all of the doors and windows were open and swept up the dirt. There was a lot of dirt, the carpet was at least 20 years old. A shop vac made quick work of the piles but I found it easier to use the broom on the actual floor.

It was at this point that I decide to start removing the popcorn ceiling. Not only was it pretty stained but I imagine that it held a lot of the nicotine/smoke smell. I watched a few tutorials about removing a popcorn ceiling so I was pretty much an expert. I will share with you what I learned.

  • Hire someone else to do it. I jest.
  • It will either be easy remove or impossible so you might as well find out which one it is.
  • Take a spray bottle of water. Sprtiz an area of the popcorn ceiling, wait a few seconds and then take a putty knife/drywall taping knife, lay it flat and attempt to remove the offensive ceiling. Keep a fairly flat angle to avoid gouging. If it comes off, it will just be a long and tedious process. And messy.
  • If the ceiling was painted, there is a whole other level to the process, they make a removal solution. As one of the “lucky” ones, my ceiling shed its popcorn layer like a snake.
  • A lot of the tutorials focus on the mess. I will not lie, removing a popcorn ceiling makes a huge mess. I didn’t read anything good about the scraper/catcher combo, though anything made by HoMax has to be suspect.
  • The next room we do, I will perform a “Dexter” style drop cloth set-up. The electrostatic charge will hopefully catch some of the microdust and once it settles, I will bundle the offensive material away.

Along the way I have been deep cleaning the kitchen and all of the walls. I suppose I should wait until the ceilings are scraped to wash walls but the smell is pretty strong so I am doing all that I can to minimize is as soon as possible. Here is a teaser of the wall washing…

Part I- Finding the property to rehab

There will be many acronyms in this series, most of which will be WTF or WTH. Let’s imagine for a moment that you are having a mid-life crisis. The world is still sorting through a 2 year pandemic, your work world is still upended, you have 2 children one of whom is taking 5 AP classes and there is a strong possibility of nuclear war. Let’s add in inflation, a shadow puppet presidency and a supply chain crisis. It would seem the most logical thing to do is to buy a small farm with a house that has been neglected for several years. This is the only sane choice for a couple with more energy and ambition than is appropriate for their age.

How we found the farm and a house in need of many, many repairs

As people who act impulsively, we have used the Goldilocks approach to finding the right fit for our mid-life crisis house. As documented here, in the beginning of the pandemic we bought a piece of land, cleared a portion and installed a shed-cabin. The lack of water and the terrifying drive up the old logging road coupled with the fact that my kids hated it, made this a less than ideal situation. We then bought an actual real cabin in a beautiful spot but it was a 5 hour drive from our “real” house and getting there took too much of our limited time.

Some people would spot a pattern and perhaps give up the idea of having a mountain get away when you have jobs and kids. We are not “some” people, we are “those people.” The people who believe they can do anything they set their mind to. The people who are always “Learning New Tricks!”

In keeping with the Goldilocks approach, we had already learned a few things. The shed cabin was too rustic (hey kids, there is a line to use the bathroom bucket!) The other house was simply too far away. We made a list of what would make it “just right!” We decided that 3 hours was the maximum distance we wanted to travel to a mountain house. Ease of access was important, no single lane logging roads. A place we could actually live when we were retied without feeling like bush people. Quiet but not remote. We settled on looking around one of our favorite areas in Virginia, the Staunton/Lexington area.

Mountain house/retirement house must-haves

  • Structure-While I love the idea of raw land and I am always looking at this as an investment, for this time in our life and with the shortages of labor and materials, we were looking for an actual house, complete with indoor plumbing and electricity.
  • Elevation-The higher you are the cooler it will be in the summer. I was trying to find a place around 2000 ft elevation but most of the cabins/houses in this elevation tended to be pretty remote or too far for us to drive.
  • Cleared, open land– while I know that most people hire others to do work, as obsessive DIYers I know the time, expense and incredible mess clearing land takes. With one kid a year and half away from college, I wanted to minimize my time frame for usability. Fewer bugs is another plus or having open and cleared land!
  • View- I wanted a vista. A view that moves you. I wanted to be able to see a sunrise or a sunset. For our entire marriage we have lived in a lovely but wooded settings. I wanted that wide-open space with a view!
  • Location– Real estate 101. Having tried the beautiful area within an hour of nowhere, I wanted to have a destination where finding stuff to do was easy. Outdoor recreation and proximity to National and State parks as well as rivers for kayaking was a must.
  • Privacy- I have issues. I don’t like to see neighbors.
  • Town- I like the idea of being close to but not necessarily in, a living and breathing town.

Why we chose this house

Reason 1:

We love the Lexington, VA area! Having spent a lot of time in this area, we know that there is a ton of outdoor recreation, mild weather and access to stores. There are two colleges in town which adds to the eccletic climate of this beautiful mountain town.

Reason 2:

The view! Meeting both my need for privacy, open land and a view!

Reason 3:

There is an acutal house! And so. many. sheds. We could turn them all into cabins, each with their own toilet bucket!

We bought the farm

Literally and hopefully not metaphorically. I will try my best to document the progress. We will likely do a major renovation 5 ish years out, for now, I am trying to make is livable and keep the house from deteriorating.

Next up, Carpet: What Lies Beneath

The first step to making a terrible muffin is to try an entirely unfamiliar recipe. The second is to not follow the recipe. Follow me for more tips on making “No-Rise Blueberry Muffins!”

In attempt to inspire my middle school-aged daughter to excel in her opening season track meet the following morning, we watched the movie, “Miracle.” The movie isn’t as good as the documentary, “Miracle on Ice.” The best part of the movie is that the Boston and Upper Midwest accents are actually good. After watching Julianne Moore’s cringy Boston accent in “30 Rock,” of was refreshing to hear something that sounds passable. I learned later that this was because most of the people in the movies were actual hockey players who were taught to act rather than the other way around. Drama in real life, if you will. Perhaps I had hockey on the brain when I made these delectable little treats. These “muffins” could not be bound by ordinary properties of physics, the parts could not have possible created a sum this dense.

Have you ever baked something and thought, “I should probably do this professionally, it would a shame to deprive the world of such skill and technique.” I have not.

Here is the recipe, for Lemon Blueberry Breakfast Muffins. It promises to be so delicious that, “even picky toddlers” will love these muffins. No mention about mouthy teenagers or husband’s with above average baking skills.

As previously posted, I have a track records of less than ideal baking outcomes. Who can forget the ultra low carb but super salty Almond Flour Coffee Cake? Feeling peckish, how about a go at my “Banana Bread Rinds?” My one consistent recipe is my Apple Chocolate Chip Cake.

The past few times I made anything with frozen blueberries, I had a few bites that were, “off.” Sour, tangy in an unpleasant way, I figured it was the berries but realized after opening a new bag that it was the baking soda/powder reacting with the berry acid (scientific name.) Refusing to break my hard-line rule about only using ONE bowl when baking, I diligently mixed up and sifted (by fluffing the flour in the air as I measured) my dry ingredients before adding my wet. I gently folded in my berries with all of their acids and then waited. Around the half-way point, I turned the muffin pan 180 degrees, I noted that they seemed a little flat but as this was a yogurt based muffin, I thought they just had to overcome a little more whole milk weight before rising. I was wrong. The timer dinged and when I opened the oven, they were still little muffin pucks. The good news is they did not have that unpleasant “zingy sour” taste of muffins past. The bad news is I had entirely omitted and baking powder and or soda from the mixture.

Rare photo of the pucks as they emerge from their holes.

Thankfully, I skipped the struesel topping. Who knows what horrors I would have inflicted upon the world. At least they could have supported the extra weight, birthing hips on these muffins.

My kids laughed at me. I ate them anyway. Food photography is not my thing and neither is baking. When life hands you blueberries, make hockey pucks but wait until the morning after the race. My daughter ran her little heart out, owing largely to the fact that she had not yet consumed any of the lead-based muffins. Perhaps if she had known what awaited her, she would have run even faster in the opposite direction.

I follow a few artists on YouTube and thought it would be fun to post my sketch and painting of one of Alan Owen’s tutorials!

Alan Owen has that breezy, easy style that so many of us long to be able to pull off. I spend to much time fiddling around and stuck in details and I long to be a a landscape painter that gives the “impression” of the scene, not a copy. We always want what we don’t have, but I don’t call this blog “Learning New Tricks” for nothing! Alan uses some interesting paint combinations, I am trying to be more consistent with my trial and error so I wrote out his colour recipes and a quick sketch/painting.

If you are like me, you are forever trying to find the perfect green. I learned the hard way that a tube of green is usually not your friend. In this painting, the palette is muted but the green quite lovely, it is a cadmium yellow, windsor blue and raw sienna. I don’t have raw sienna (thought it is now on my list) gold ochre is listed as a possible substitute. I tend to mix my greens with ultra marine but the windsor blue mixed nicely and I will try using more often. I also like the grey we put in the sky, it was also a mix of cobalt blue and Indian red ( I used alizeron crimson). I didn’t do the sketch book until after I finished the painting, if I had I would have realized there was going to be a house! I put a bit too much shore line in front of the house, these people are definitely not going to get flood insurance…

For my next tutorial I started with the tiny painting and color chart.

I haven’t done the exercise on real paper yet but I love the grey from cobalt and burnt sienna!

I enjoy Alan Owen’s videos and find him easy to follow, though I do pause to catch up when I need to!

I found a list of some additional watercolor tutorials, some I have watched and some I plan to watch! As a visual learner, I really find watching other people work gives me so many ideas.