I can think of two times in my life where this advice really should have been followed. The first time was on a cruise. My second and as of now, my last cruise. We took this particular cruise in early November. Though technically considered “hurricane season,” November is not usually prime time for major storms. It was a short cruise, only 3 nights. They seemed to last forever. It was the first time we went away alone after our second child was born.

Did you know that cruise ship have stabilizers that emerge from the side of the ship? I was blissfully unaware of these stabilizing fins. Did I mention that we were traveling at the tail end of hurricane season? Long story short, we sailed through a tropical storm, the waves were so big that all dining rooms were closed, all shows were cancelled and it we never left the ship as it was too dangerous to pull into any ports. We were stuck in our room, flopping back and forth feeling pretty miserable. The bathroom, similar in size to an airplane bathroom (yet somehow defying the laws of physics and fitting a shower into the same space) had a latch securing the door on the outside, allowing it to remain open. I didn’t think much of this latch until we were pitching and rolling, attempting to use the bathroom, undoing the latch and then SLAM went the door on my husband’s finger. We should have left that hatch battened down.

In the search for ice to place on his finger, my husband ran into the a nice woman on the elevator who told him that she was the captain’s wife and that he would not let the ship sink if she was on it. This news didn’t reassure me as much as I think she intended it to. I would hope the captain wouldn’t let the ship sink even if wasn’t his personal Love Boat. We survived, which bring us to many years later…

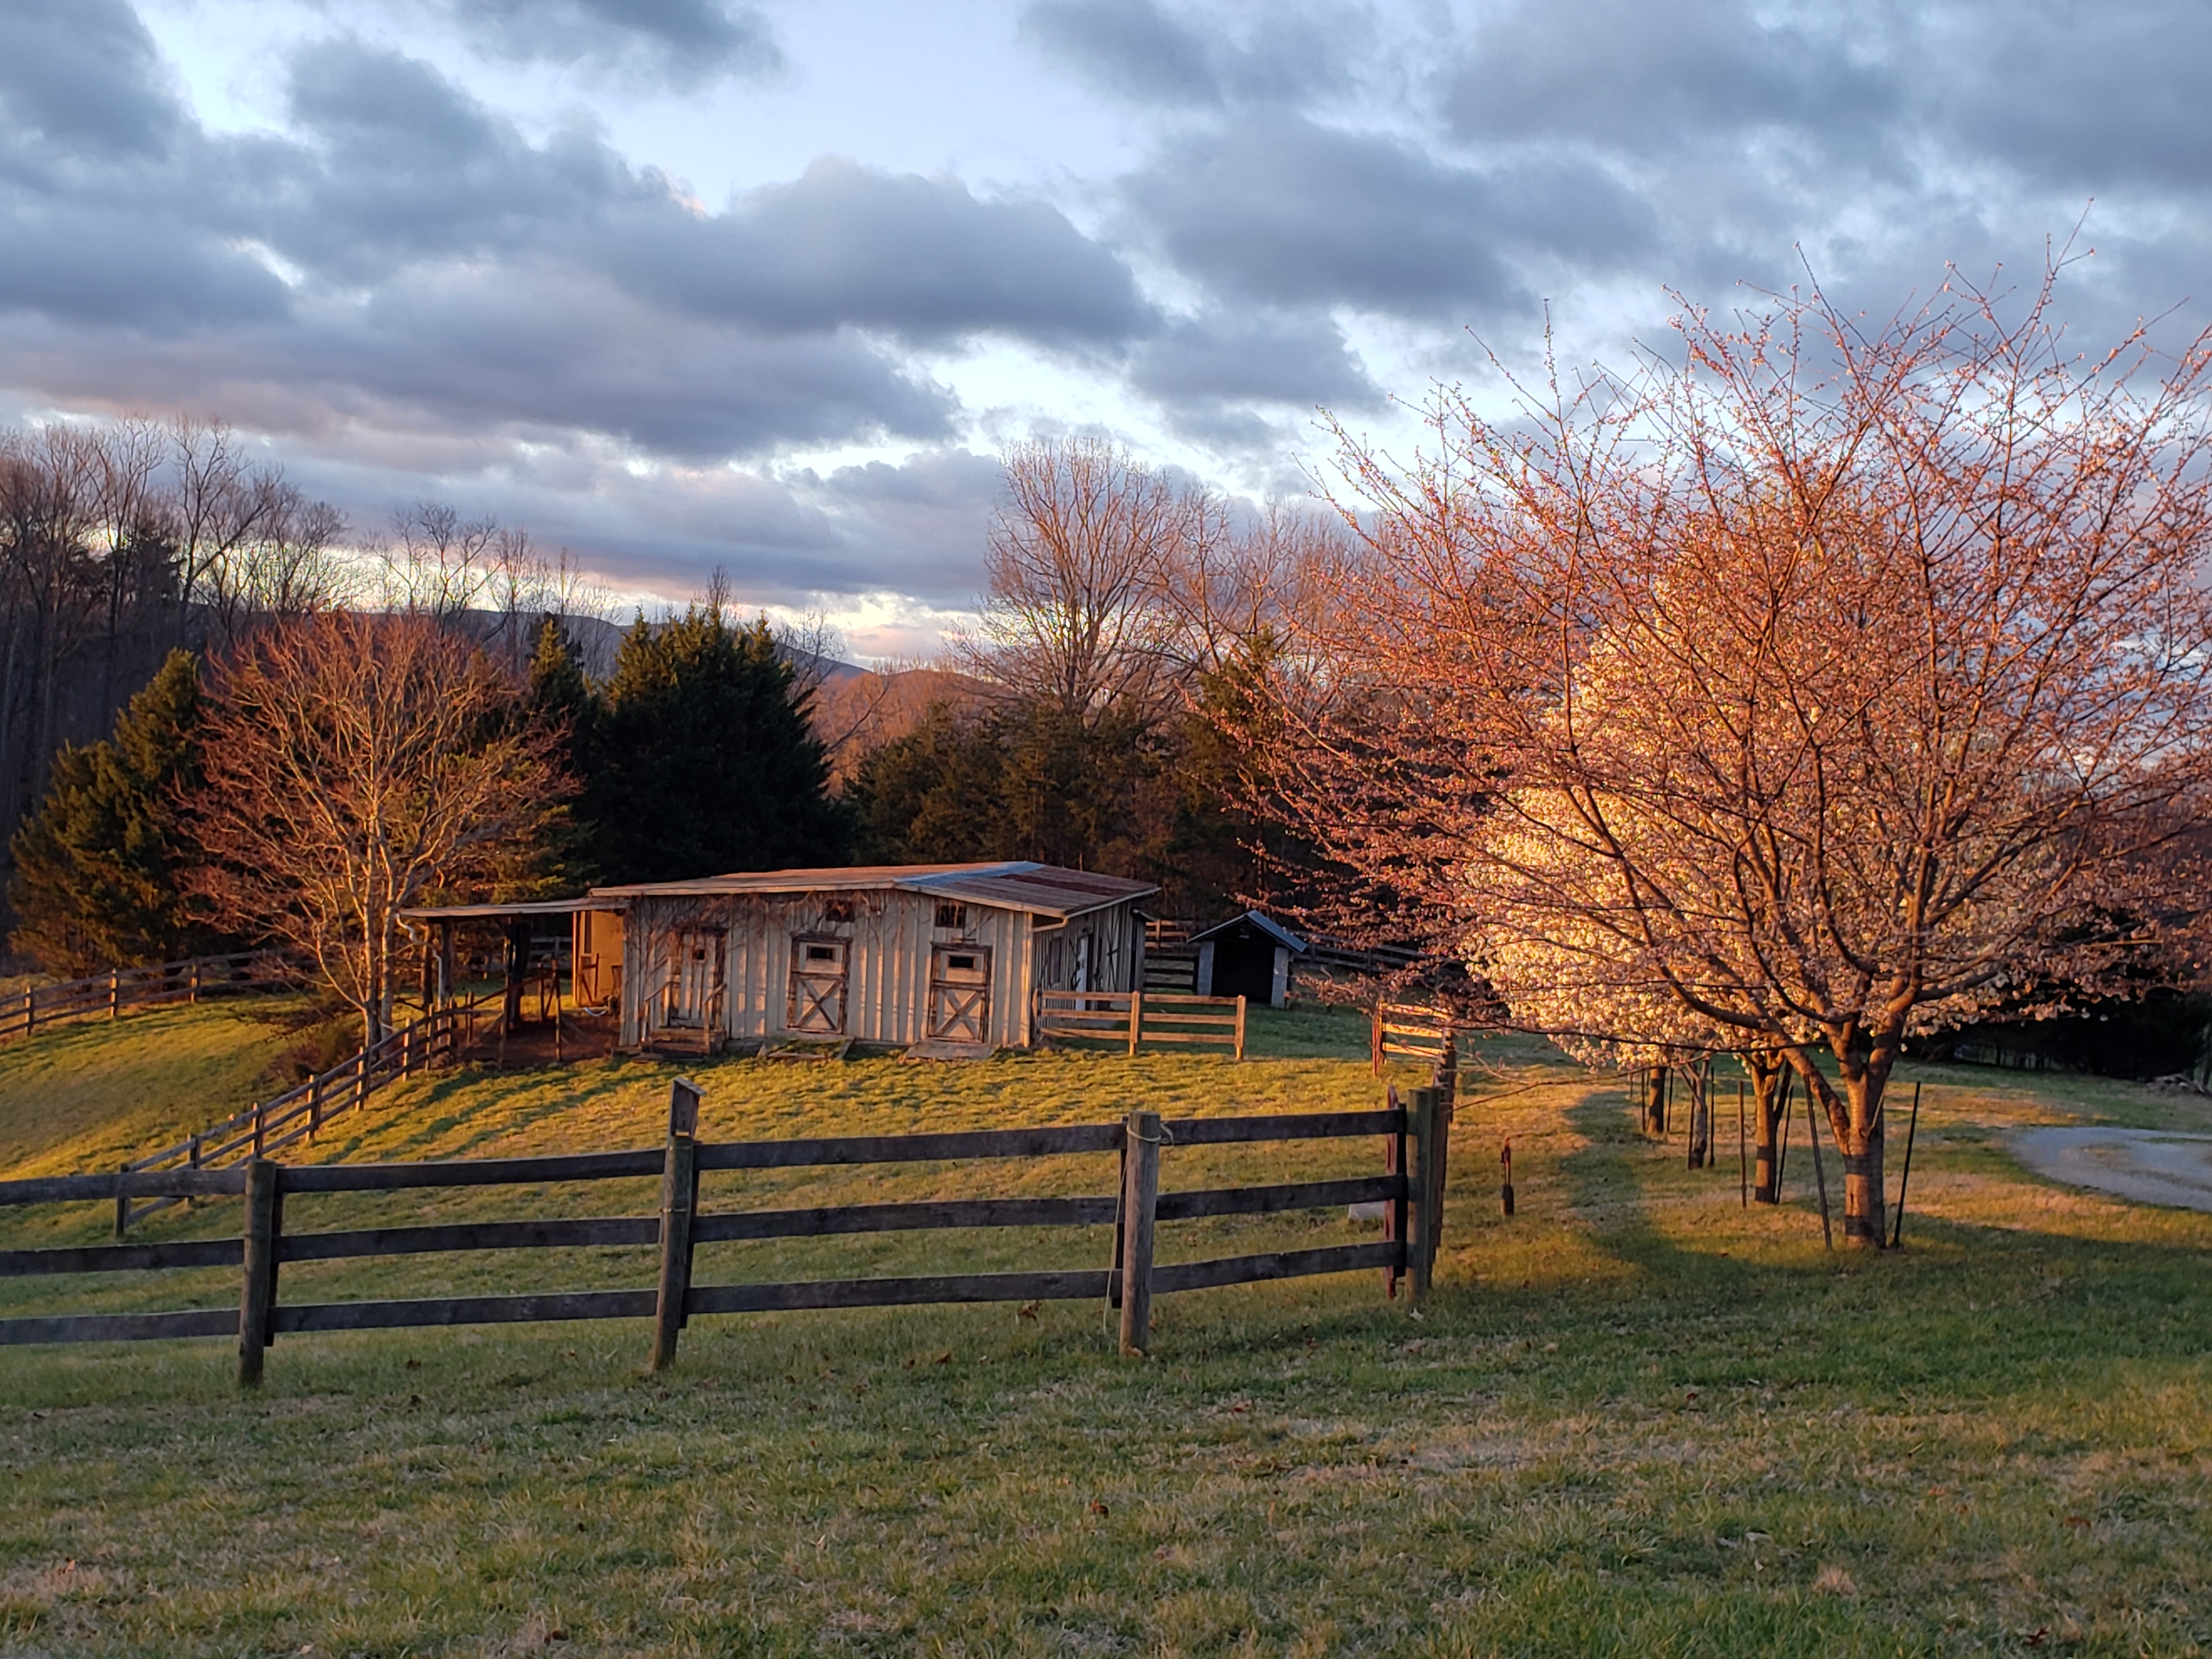
The second time I should have “battened down the hatches,” would have been the last time we left the farm. I’m not sure at which point in the farm journey that we unlatched the barn boor. I am not speaking metaphorically of an unzipped fly, that would have been much easier to fix. The double, heavy, barn door was shut, the wood was pretty warped and it seemed to be a secure fit, at some point the padlock was removed. I had brought a new lock with us, but somehow in all of the popcorn ceiling excitement, we never put it on the barn latch.

We drove up to the farm this past weekend, after nearly a month since our last visit. When we pulled up the steep hill towards the house the first thing we saw was a wide open barn door. One of the two doors was laying on the ground. My first thought was, “vandals!” My second thought was, “how on earth are we going to get this door off the ground?” The door is very large and it had been ripped clean off of the hinges. After further investigation of the barn, we realized that this was not likely the work of vandals. We should have battened the hatches.

One of the things I love about the farm is the constant breeze. In the summer, I am sure I will find the constant breeze refreshing. In this particular case, high winds are the most likely culprit for our downed door. With the external latch unfastened, the winds blew the door to and fro. The door banged against the side of the building until it was knocked off of the hinges, splintering the wood frame in the process.

exhibit A, B and C

I didn’t get any pictures of the ordeal. I was too stunned when we drove up and then we immediately sprang into action mode. We tilted the door back into position, my husband was able to shimmy it into place enough that we could fasten not only the outer latch but the TWO interior latches that we had not bothered with earlier. I am not sure how we will fix this in the long run, that’s a pretty big door jamb to replace! Lesson learned. I will likely write all about it in a riveting tale of “Reframing the Barn Door, Mind Over Matter. In the meantime, I will batten down the hatches.
If you are a smoker and you live in a house with a popcorn ceiling, you should do two things. First, you should quit smoking because it is really, really bad for you. After you quit smoking, you should remove your popcorn ceiling because it is really, really absorbent.

I have at times, regretted buying this house. This is not surprising as I am an over analyzing yet impulsive person. Not always a good combination but it makes for an interesting life. I really dislike the smell of smoke. Having grown up with a heavy smoker, I have legitimate cancer concerns. I didn’t realize how much “3rd hand” smoke there was in the house, finding the musty odor to be dominant at the time. We are trying to remove or seal as much as we can. Studies have shown that you can’t clean out the toxic agents, removing and repainting is pretty much the only way to get rid of the potential carcinogens. After we get the dusty part done, we will remove and replace the duct work. Right now, we are changing to the most powerful filters we can find. To learn more about 3rd hand smoke and give yourself more things to worry about in this otherwise relaxing world, the Cleveland Clinic has a good article here. When we first pulled up the carpets, even with our N95 masks, the smoke smell was overpowering. We even went so far as to call a restoration service, something we as die hard DIYers wouldn’t normally consider. This particular company said they only did smoke remediation after a fire not after chain smokers to we pressed on.

The previous owners of the house not only used a wood stove that may or may not have had a significant amount of creosote, they must have considered smoking a passion, not just a habit. The ceiling is yellow. It’s hard to see just how yellow until you start scraping. After you scrape, the slurry smells like plastery nicotine. I guess what they say is true, smoke rises. Maybe it was heat rises but either way, if you are trying to eliminate smoke smell from a house, you will need to scrape the popcorn ceiling.

The original plan was to Kilz everything maybe even fashion some sort of “Kilz” bomb to cover it all. The nooks and crannies of the popcorn ceiling made me rethink this plan and even though it is a filthy job, the popcorn ceiling had to go.

At night when I lay awake and question my life choices, including the one to buy a hoarder/smoker house with falling down everything, I find myself thinking about popcorn ceilings. I have never met someone who says, “boy I really like the looks of that cottage cheese texture on the ceiling.” As a child who jumped on her bed even though it was forbidden, I would hit my head on the very sharp “textured” ceiling. I am sure I will eat these words after we eventually paint these ceilings and I will become obsessed with every imperfection. I have a hard time believing it can look worse than they did before we started and I know they will smell better regardless of the “smoothness.”

You may have read about our initial foray into ceiling scraping here. There are two major things we did differently this time.

Popcorn ceiling removal, part deux


First, we put down a drop cloth. We used a cheap, thin, plastic drop cloth. It worked well and the static caught a lot of the dust. Clean-up was a breeze, we just folded the drop cloth over and whisked the mess into a bag.

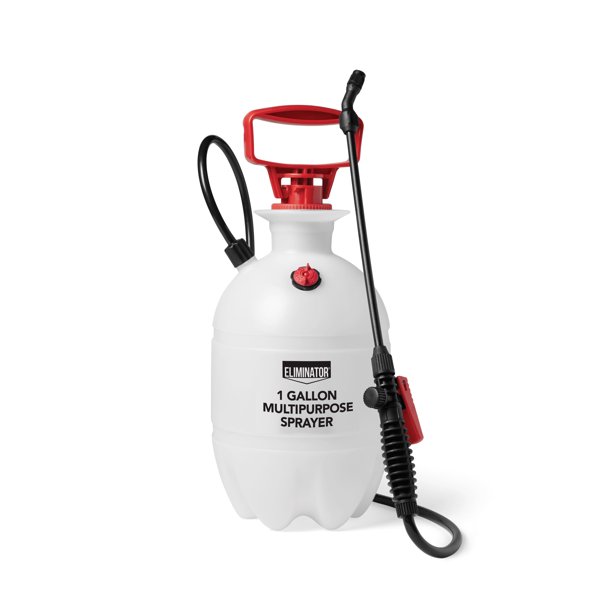
Second, we used a larger sprayer. This 1 gallon sprayer was much more effective in evenly wetting the ceiling. It was more ergonomic to pump the handle vs squeezing the spray bottle. without being unwieldy.

This job is still makes gigantic mess, if you have a shower cap/bouffant cap, use it. Eyewear and a mask as also essential, getting plaster in your eyes and lungs is a bad idea. As you can see, the ceiling look so much better. I can’t wait to Kilz everything. I am even considering using the oil based Kilz on the subfloor.

If anyone needs be to take some dark and blurry photos of their house, send me a message!

The right tools always make the job easier. If you are removing a popcorn ceiling, learn from our mistakes! The amount of dust we created by scraping too dry and without the static/dust collecting drop cloth was ridiculous. You don’t want to over wet the ceiling either but this mist sprayer made a hug difference.

no drop cloth…

We chose our house for many reasons. The interior was not one of those reasons. Unfortunately, the previous owner was unable to care for the house and had neglected much of the cleaning and maintenance. Between the wood stove and what must have been a pretty steady stream of cigarette smoke, the house needed more than a simple airing out. The first thing we needed to do was to get rid of the carpets.

I lied, the first thing I did was cut this bush down!

I had to stop myself from doing this until after the closing, it was very difficult for me.

Tips for pulling up old carpets

  • Hire someone else to do it. Ha, ha, Goonies always say DIY!
  • Wear a respirator or an N95 mask. In our case there was so much dust and dirt and I know the smoke smell would have been overpowering without one. Lung damage is cumulative, please protect your future health.
  • Along this line of thinking, protective eye wear, a simple thing can make a big difference
  • Work gloves, heavy duty. There are staples and sharp edges.
  • Cut the carpet into a size that will be easy to move and to dispose of. At first, we were a tad too ambitious. Carpet, particularly soiled carpet is heavy. We hauled it straight out to the woodshed but would have put it into a trailer or truck if that had been an option.
  • Keep the underlayment rolled as much as possible to catch more dirt. It likes to tear but if you cut all the way through you should be able to roll that up as well.

Once we pulled out the carpet, the smell was actually worse. My guess is that the smoke had settled to the sub floor. We made sure all of the doors and windows were open and swept up the dirt. There was a lot of dirt, the carpet was at least 20 years old. A shop vac made quick work of the piles but I found it easier to use the broom on the actual floor.

It was at this point that I decide to start removing the popcorn ceiling. Not only was it pretty stained but I imagine that it held a lot of the nicotine/smoke smell. I watched a few tutorials about removing a popcorn ceiling so I was pretty much an expert. I will share with you what I learned.

  • Hire someone else to do it. I jest.
  • It will either be easy remove or impossible so you might as well find out which one it is.
  • Take a spray bottle of water. Sprtiz an area of the popcorn ceiling, wait a few seconds and then take a putty knife/drywall taping knife, lay it flat and attempt to remove the offensive ceiling. Keep a fairly flat angle to avoid gouging. If it comes off, it will just be a long and tedious process. And messy.
  • If the ceiling was painted, there is a whole other level to the process, they make a removal solution. As one of the “lucky” ones, my ceiling shed its popcorn layer like a snake.
  • A lot of the tutorials focus on the mess. I will not lie, removing a popcorn ceiling makes a huge mess. I didn’t read anything good about the scraper/catcher combo, though anything made by HoMax has to be suspect.
  • The next room we do, I will perform a “Dexter” style drop cloth set-up. The electrostatic charge will hopefully catch some of the microdust and once it settles, I will bundle the offensive material away.

Along the way I have been deep cleaning the kitchen and all of the walls. I suppose I should wait until the ceilings are scraped to wash walls but the smell is pretty strong so I am doing all that I can to minimize is as soon as possible. Here is a teaser of the wall washing…

Part I- Finding the property to rehab

There will be many acronyms in this series, most of which will be WTF or WTH. Let’s imagine for a moment that you are having a mid-life crisis. The world is still sorting through a 2 year pandemic, your work world is still upended, you have 2 children one of whom is taking 5 AP classes and there is a strong possibility of nuclear war. Let’s add in inflation, a shadow puppet presidency and a supply chain crisis. It would seem the most logical thing to do is to buy a small farm with a house that has been neglected for several years. This is the only sane choice for a couple with more energy and ambition than is appropriate for their age.

How we found the farm and a house in need of many, many repairs

As people who act impulsively, we have used the Goldilocks approach to finding the right fit for our mid-life crisis house. As documented here, in the beginning of the pandemic we bought a piece of land, cleared a portion and installed a shed-cabin. The lack of water and the terrifying drive up the old logging road coupled with the fact that my kids hated it, made this a less than ideal situation. We then bought an actual real cabin in a beautiful spot but it was a 5 hour drive from our “real” house and getting there took too much of our limited time.

Some people would spot a pattern and perhaps give up the idea of having a mountain get away when you have jobs and kids. We are not “some” people, we are “those people.” The people who believe they can do anything they set their mind to. The people who are always “Learning New Tricks!”

In keeping with the Goldilocks approach, we had already learned a few things. The shed cabin was too rustic (hey kids, there is a line to use the bathroom bucket!) The other house was simply too far away. We made a list of what would make it “just right!” We decided that 3 hours was the maximum distance we wanted to travel to a mountain house. Ease of access was important, no single lane logging roads. A place we could actually live when we were retied without feeling like bush people. Quiet but not remote. We settled on looking around one of our favorite areas in Virginia, the Staunton/Lexington area.

Mountain house/retirement house must-haves

  • Structure-While I love the idea of raw land and I am always looking at this as an investment, for this time in our life and with the shortages of labor and materials, we were looking for an actual house, complete with indoor plumbing and electricity.
  • Elevation-The higher you are the cooler it will be in the summer. I was trying to find a place around 2000 ft elevation but most of the cabins/houses in this elevation tended to be pretty remote or too far for us to drive.
  • Cleared, open land– while I know that most people hire others to do work, as obsessive DIYers I know the time, expense and incredible mess clearing land takes. With one kid a year and half away from college, I wanted to minimize my time frame for usability. Fewer bugs is another plus or having open and cleared land!
  • View- I wanted a vista. A view that moves you. I wanted to be able to see a sunrise or a sunset. For our entire marriage we have lived in a lovely but wooded settings. I wanted that wide-open space with a view!
  • Location– Real estate 101. Having tried the beautiful area within an hour of nowhere, I wanted to have a destination where finding stuff to do was easy. Outdoor recreation and proximity to National and State parks as well as rivers for kayaking was a must.
  • Privacy- I have issues. I don’t like to see neighbors.
  • Town- I like the idea of being close to but not necessarily in, a living and breathing town.

Why we chose this house

Reason 1:

We love the Lexington, VA area! Having spent a lot of time in this area, we know that there is a ton of outdoor recreation, mild weather and access to stores. There are two colleges in town which adds to the eccletic climate of this beautiful mountain town.

Reason 2:

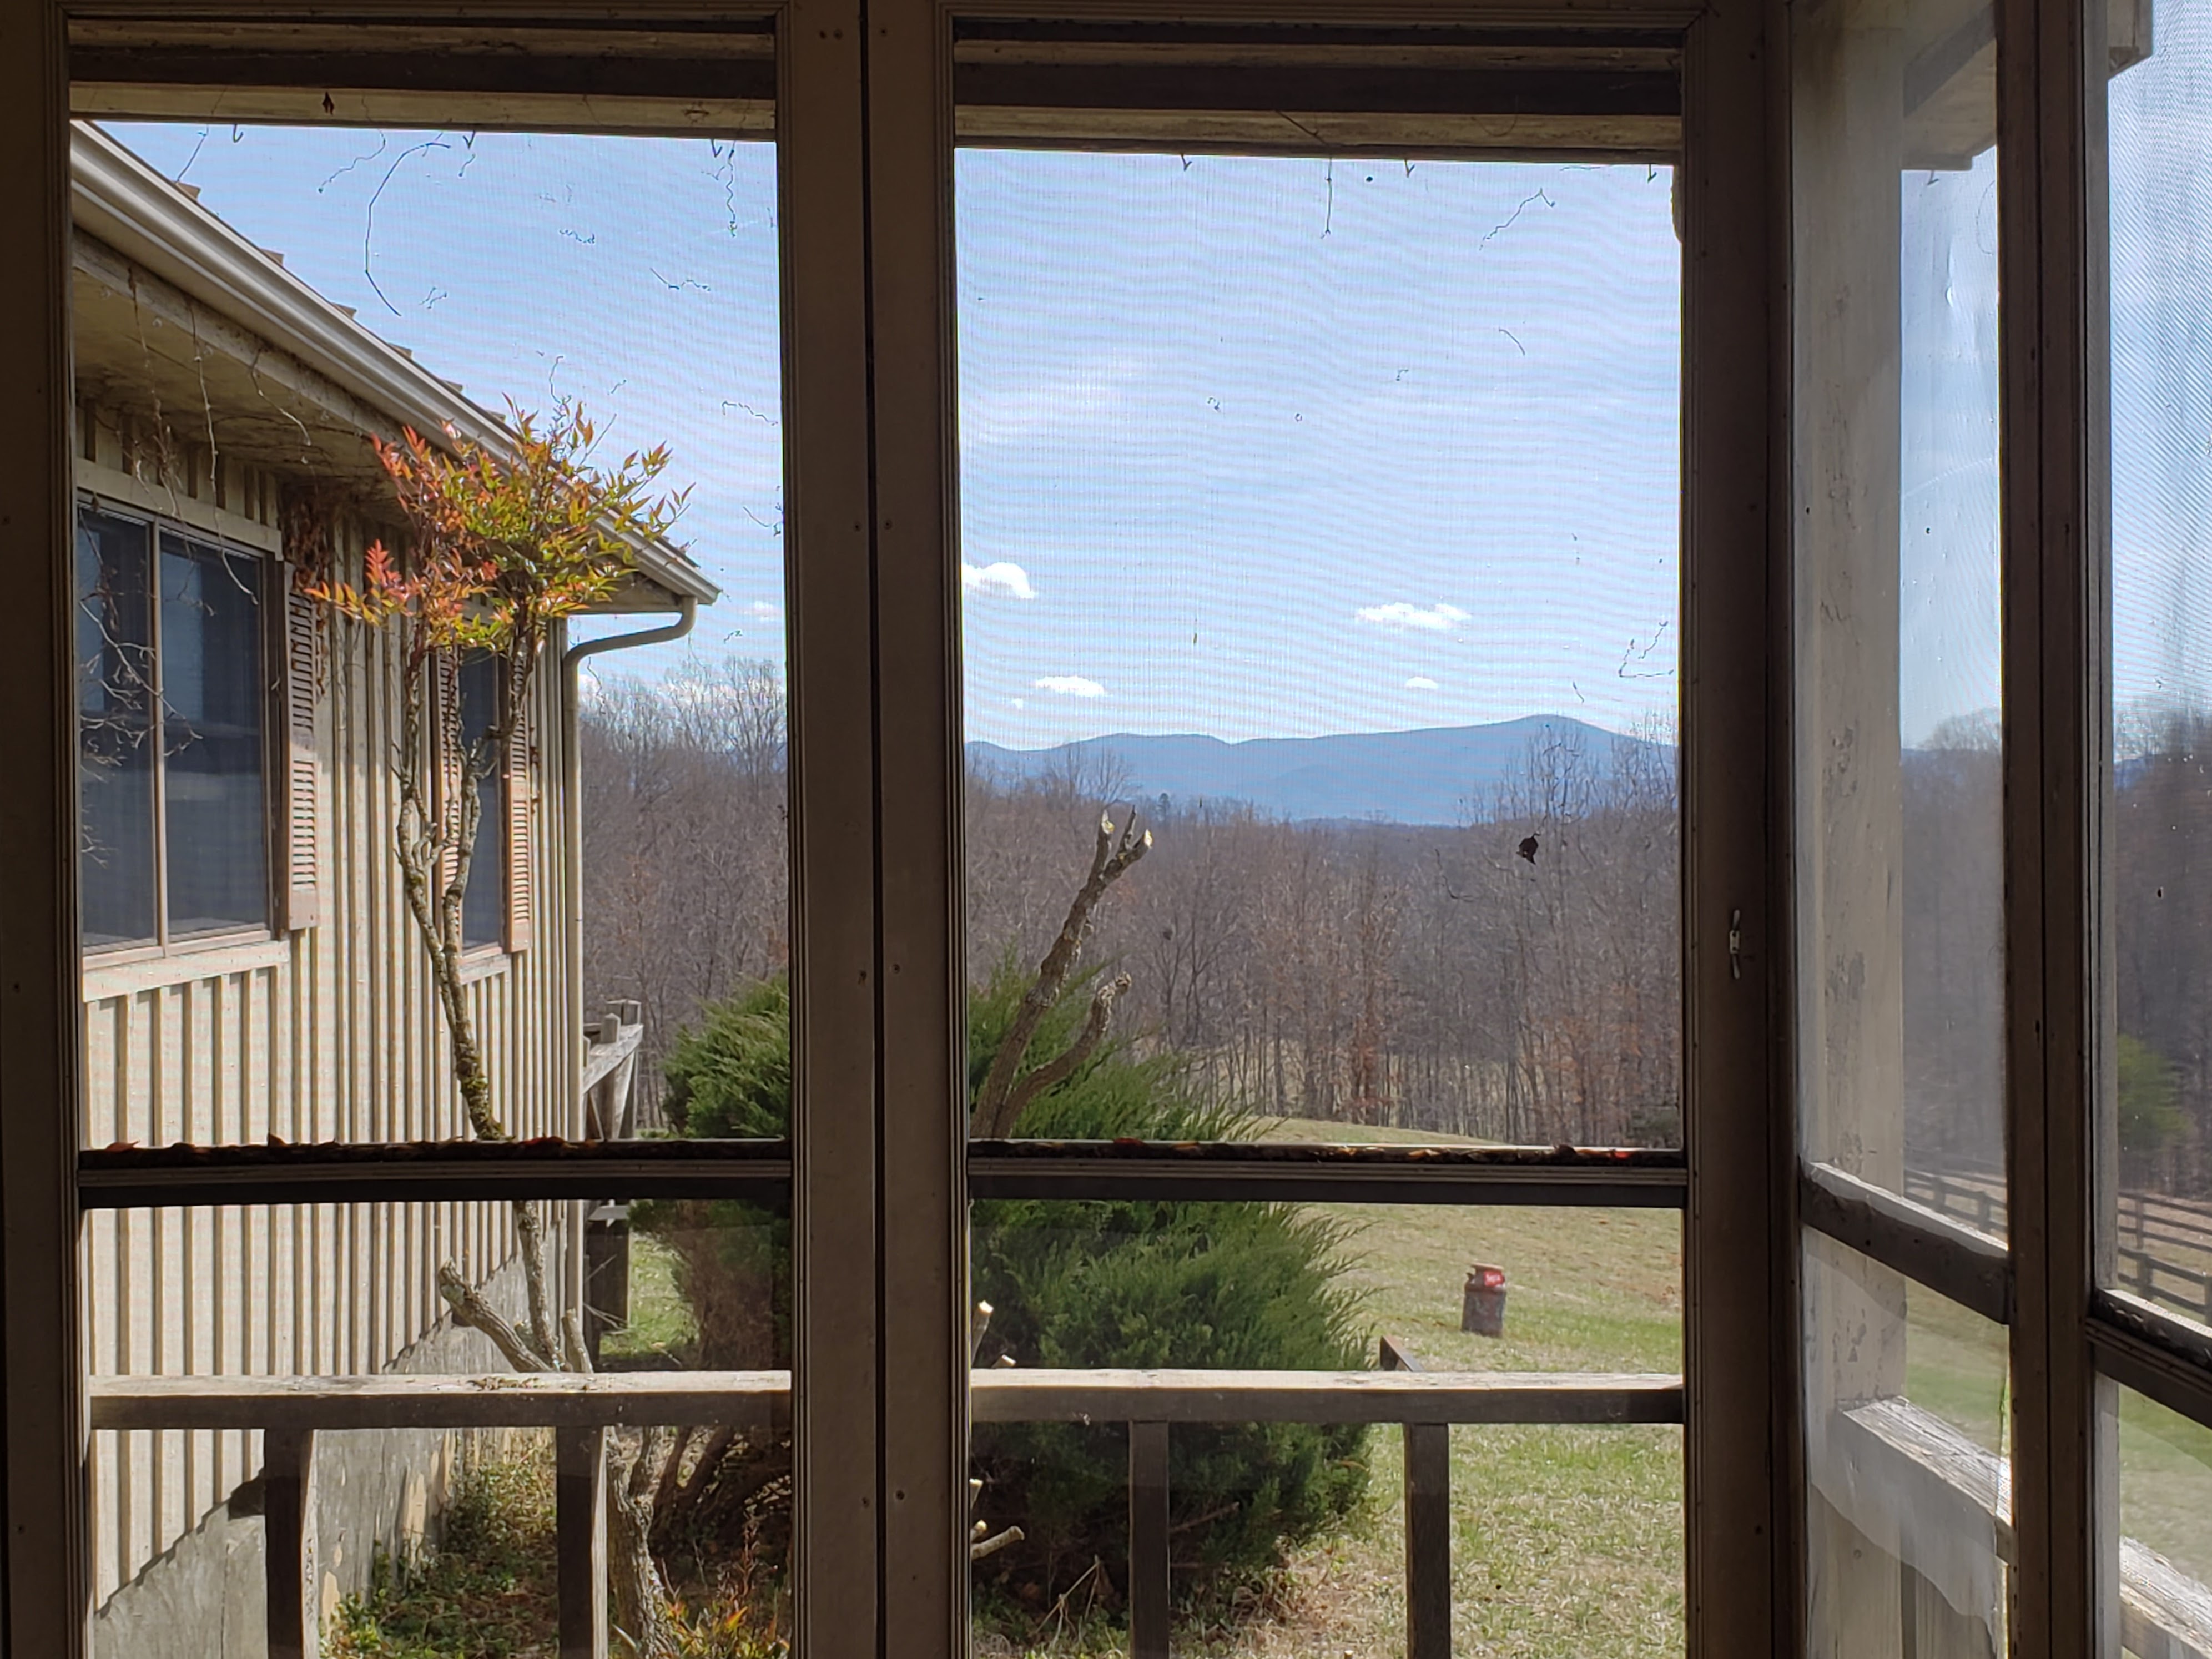
The view! Meeting both my need for privacy, open land and a view!

Reason 3:

There is an acutal house! And so. many. sheds. We could turn them all into cabins, each with their own toilet bucket!

We bought the farm

Literally and hopefully not metaphorically. I will try my best to document the progress. We will likely do a major renovation 5 ish years out, for now, I am trying to make is livable and keep the house from deteriorating.

Next up, Carpet: What Lies Beneath