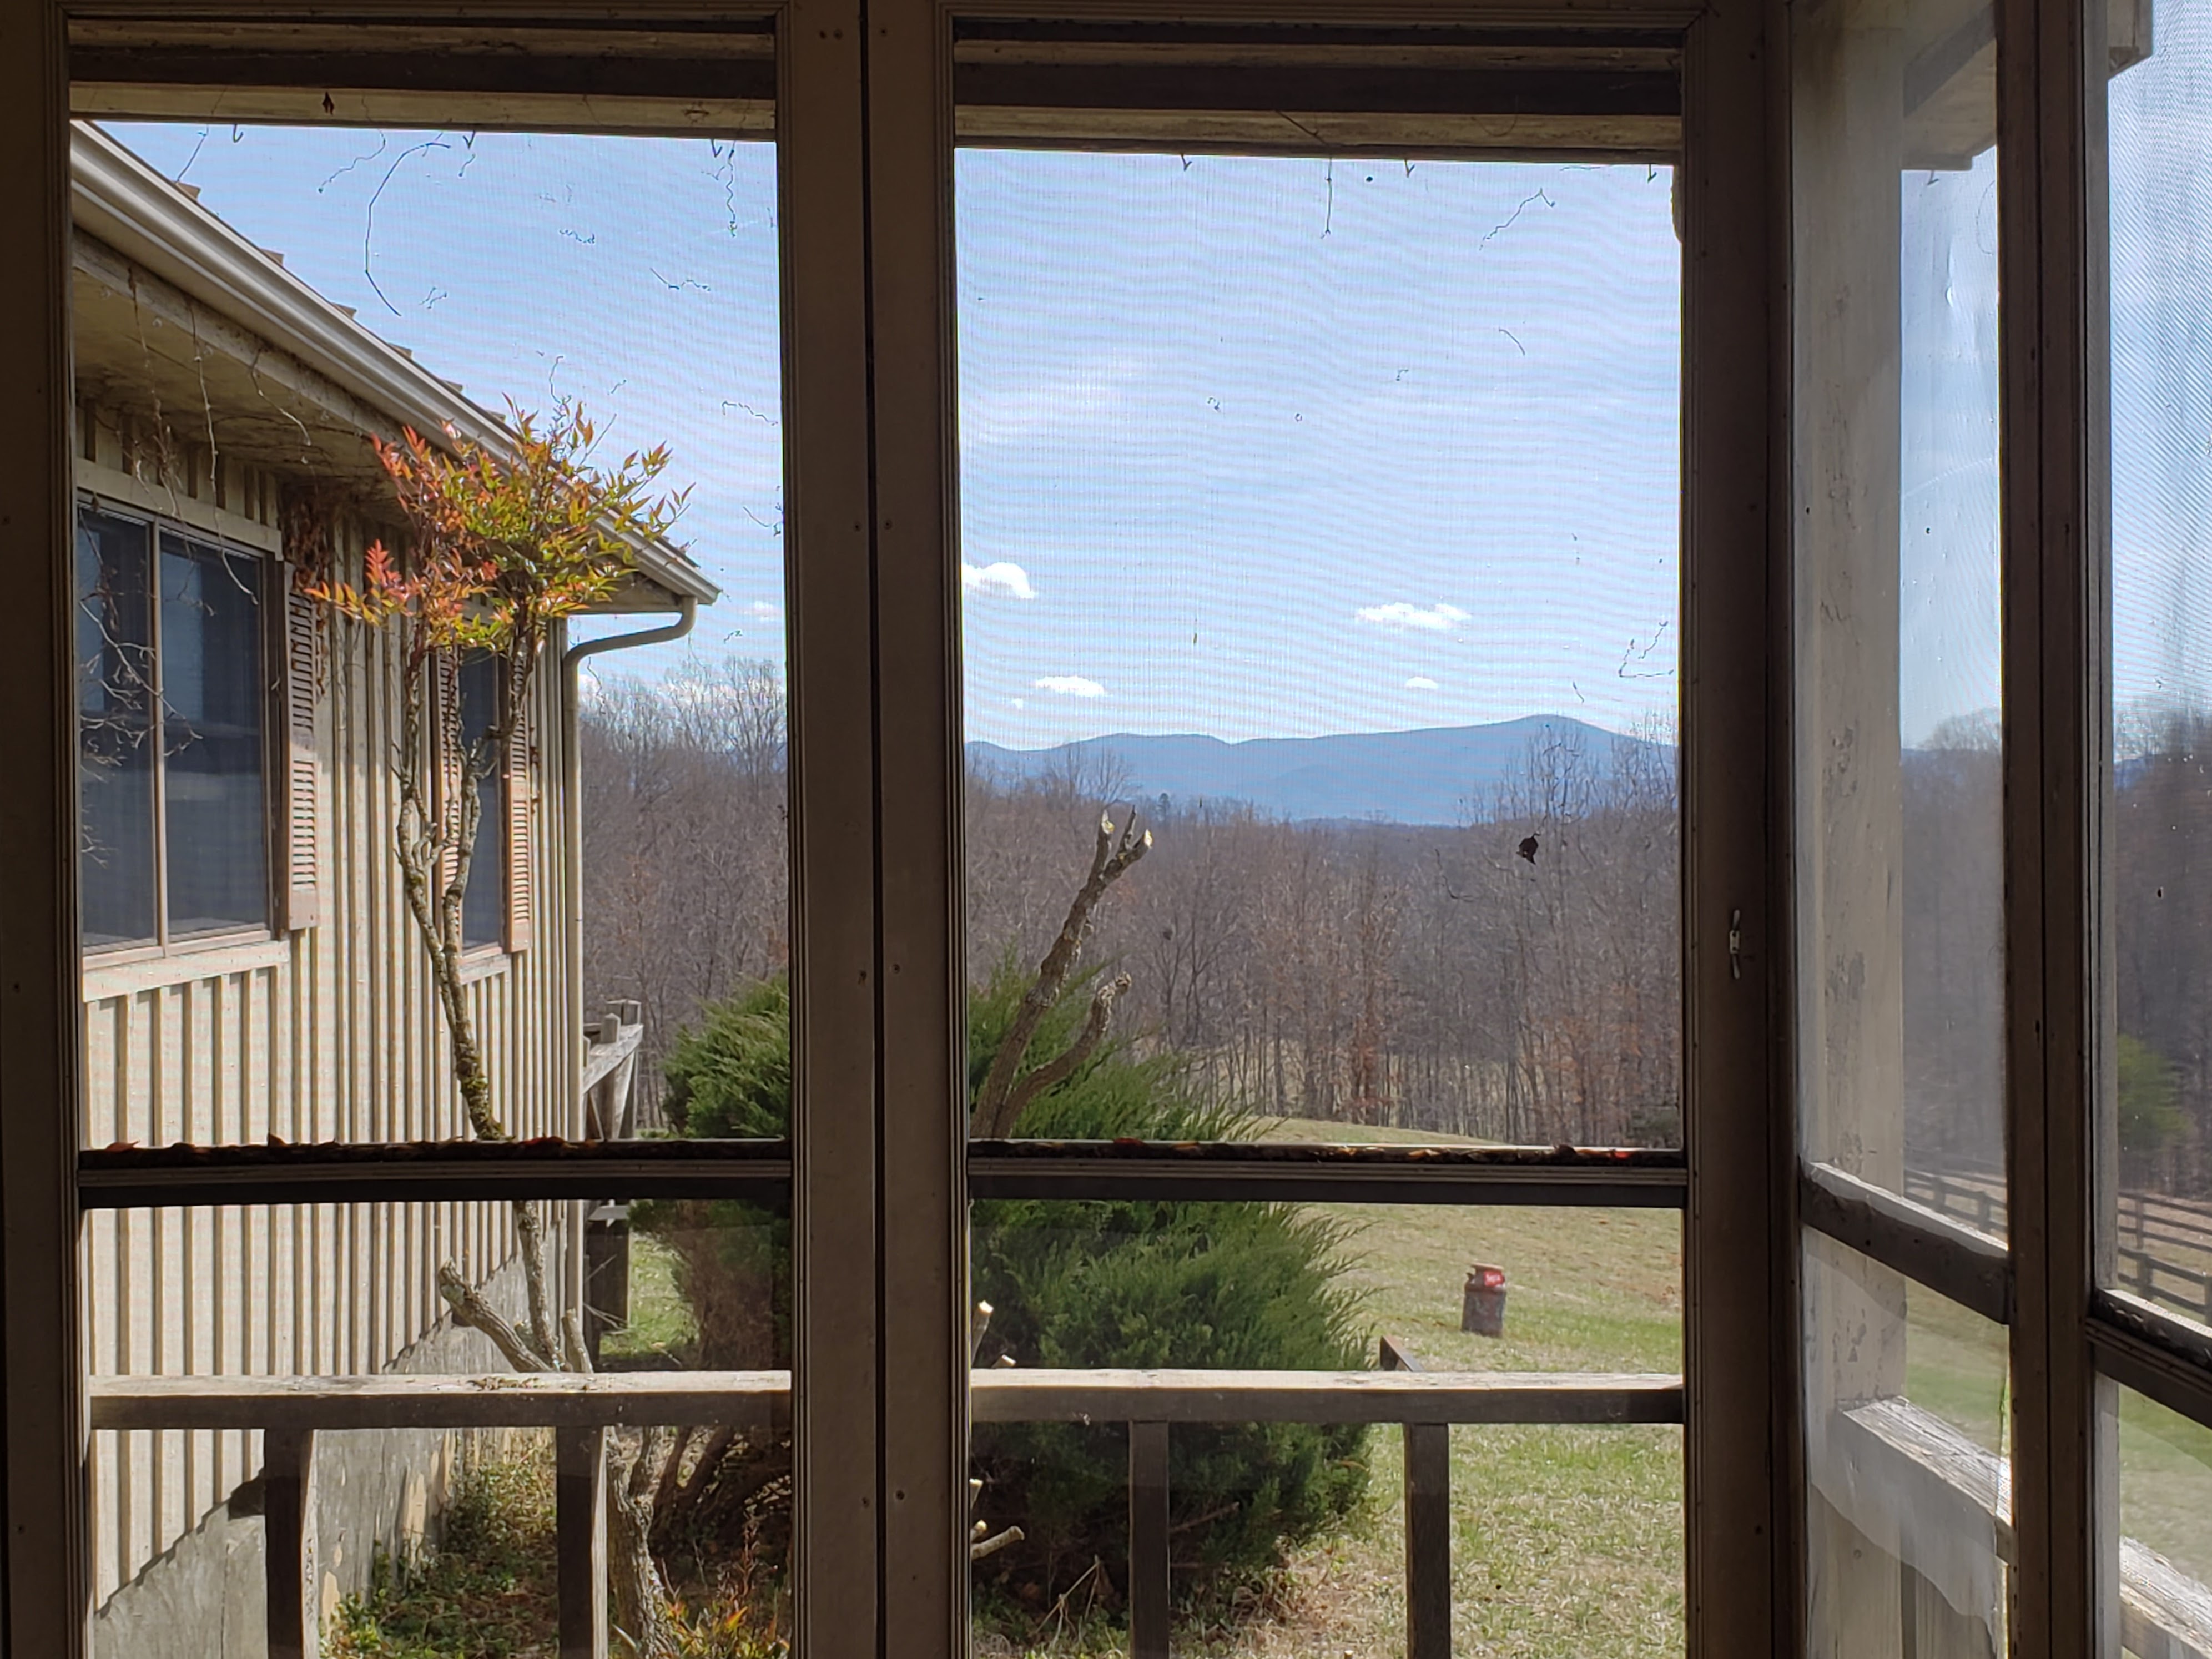
We chose our house for many reasons. The interior was not one of those reasons. Unfortunately, the previous owner was unable to care for the house and had neglected much of the cleaning and maintenance. Between the wood stove and what must have been a pretty steady stream of cigarette smoke, the house needed more than a simple airing out. The first thing we needed to do was to get rid of the carpets.
I lied, the first thing I did was cut this bush down!


Tips for pulling up old carpets
- Hire someone else to do it. Ha, ha, Goonies always say DIY!
- Wear a respirator or an N95 mask. In our case there was so much dust and dirt and I know the smoke smell would have been overpowering without one. Lung damage is cumulative, please protect your future health.
- Along this line of thinking, protective eye wear, a simple thing can make a big difference
- Work gloves, heavy duty. There are staples and sharp edges.
- Cut the carpet into a size that will be easy to move and to dispose of. At first, we were a tad too ambitious. Carpet, particularly soiled carpet is heavy. We hauled it straight out to the woodshed but would have put it into a trailer or truck if that had been an option.
- Keep the underlayment rolled as much as possible to catch more dirt. It likes to tear but if you cut all the way through you should be able to roll that up as well.
Once we pulled out the carpet, the smell was actually worse. My guess is that the smoke had settled to the sub floor. We made sure all of the doors and windows were open and swept up the dirt. There was a lot of dirt, the carpet was at least 20 years old. A shop vac made quick work of the piles but I found it easier to use the broom on the actual floor.


It was at this point that I decide to start removing the popcorn ceiling. Not only was it pretty stained but I imagine that it held a lot of the nicotine/smoke smell. I watched a few tutorials about removing a popcorn ceiling so I was pretty much an expert. I will share with you what I learned.
- Hire someone else to do it. I jest.
- It will either be easy remove or impossible so you might as well find out which one it is.
- Take a spray bottle of water. Sprtiz an area of the popcorn ceiling, wait a few seconds and then take a putty knife/drywall taping knife, lay it flat and attempt to remove the offensive ceiling. Keep a fairly flat angle to avoid gouging. If it comes off, it will just be a long and tedious process. And messy.
- If the ceiling was painted, there is a whole other level to the process, they make a removal solution. As one of the “lucky” ones, my ceiling shed its popcorn layer like a snake.
- A lot of the tutorials focus on the mess. I will not lie, removing a popcorn ceiling makes a huge mess. I didn’t read anything good about the scraper/catcher combo, though anything made by HoMax has to be suspect.
- The next room we do, I will perform a “Dexter” style drop cloth set-up. The electrostatic charge will hopefully catch some of the microdust and once it settles, I will bundle the offensive material away.


Along the way I have been deep cleaning the kitchen and all of the walls. I suppose I should wait until the ceilings are scraped to wash walls but the smell is pretty strong so I am doing all that I can to minimize is as soon as possible. Here is a teaser of the wall washing…


